This article is meant as an introduction to collecting Begonia seed, primarily for those who are new to identifying flower parts and collecting seed. I have only been doing this since early fall, so take this with a grain of salt. One of the purposes here is to combine information from multiple sources into one article. All information pulled directly from external sources is credited. The following information is what I have found to be true in collecting Begonia species seed and is by no means the only way to go about it.
Vocabulary
*Terms and definitions below provided mostly by Begonias of Peninsular Malaysia by Ruth Kiew.
Berry-a fleshy fruit with many seeds that does not split.
Bract– a leaf life structure associated with inflorescences
Bracteole– a small bract, usually attached above the bract
Capsule– a dry fruit that splits to release the seeds
Endosperm– the cellular food reserve in the seeds of flowering plants
Inflorescence– the flowering axis comprising bracts, bracteoles, and flowers
Locule- a chamber or cavity in begonias referring to the cavities in the ovary. They are generally the most rigid part of the female flower and inform the entire structure.
Perfect– in the context of Angiosperms, a species that produces both male and female flowers in the same plant. Begonias are both perfect and self-fertile.
Placenta– the tissue to which the ovules are attached in the ovary, in begonias it is a vertical plate which projects into the locule cavity. In short, where the seed is attached to until it becomes ready for collection.
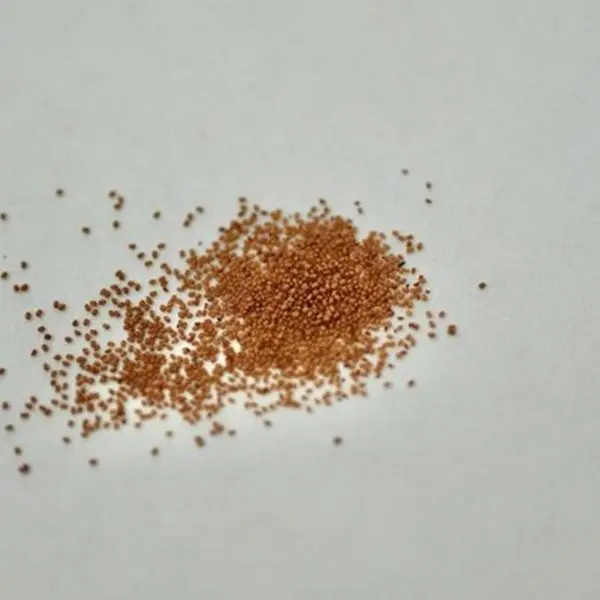
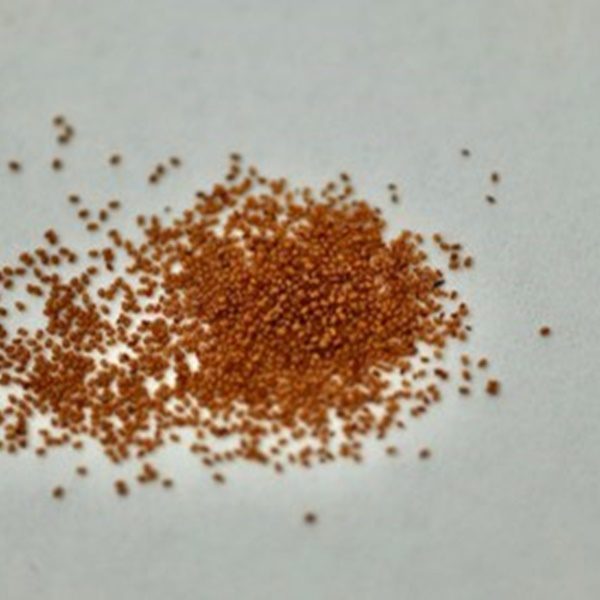
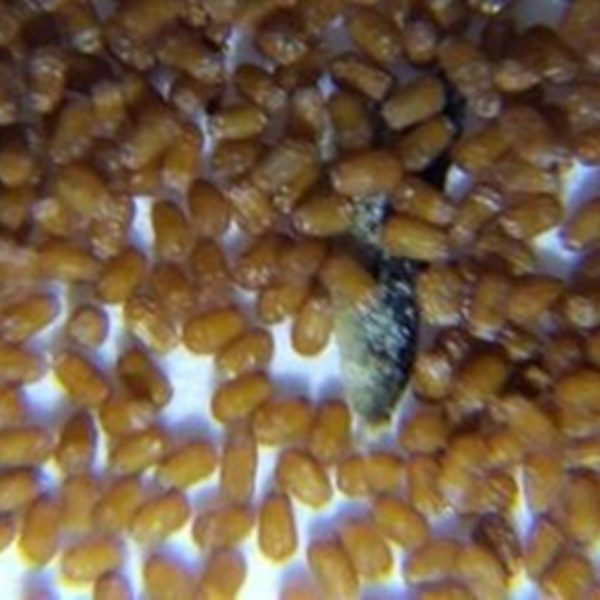
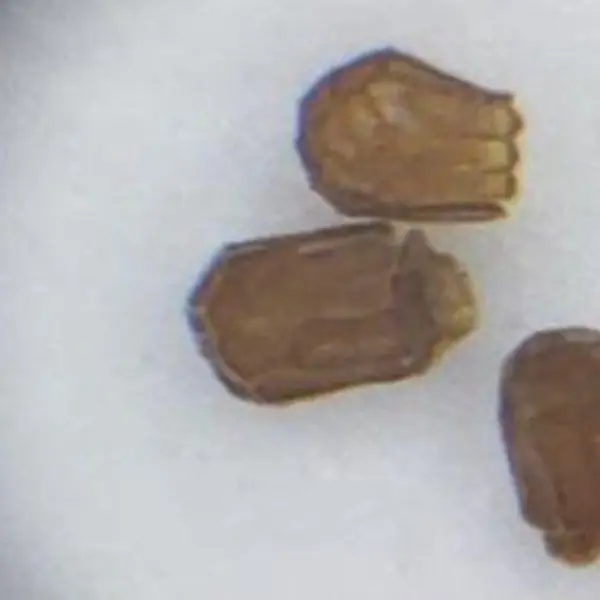
Seeds– in begonias, tiny golden barrels ranging from .25-.75mm long. Many species produce seed which for all intents and purposes looks like dust. Most typically species produce between 100-600 seeds per capsule.
Self-fertile– flowering plants capable of producing viable seed when the male flower from a plant fertilizes the female flower on the same plant. There are perfect flowers that are not self-fertile, requiring a second plant to cross with.
Stamen– the male part of the flower that consists of a stalk called the filament and the anther that produces the pollen.
Stigma– the surface at the top of the style that receives pollen
Style– the columnar structure between the ovary and the stigma
Tepals– the flower parts where the petals and the sepals are similar. In the case of begonias, the tepals are petaloid ie the outer ones are not small and green like sepals.
Wing– the pointed or rounded tips of a female flower, numbering three or none. Sometimes the wings are of equal size, but often there is one wing that is larger than the others.
Bloom time
Many rhizomatous begonias are winter bloomers, but there are many everblooming species as well, such as B. vankerckhovenii and B. prismatocarpa. Some begonias are more challenging to flower and will not bloom every year. For others, they seem never to bloom. If you are keeping many Begonia species and are forgetful (like me) it can be useful to record your flower activity to avoid missing any important events. The window you are able to pollinate varies from species to species and can range from a few days up to many months. I record the date, species, quantity, size, and orientation of male and female flowers and anything else that might be useful for collecting seed in the future. It depends on the species but usually, the flowers have overlapping blooms, but not identical. New world species, for example, tend to have fertile male flowers before females. Sometimes the period of overlap is just a few days, after which unless pollinated by other means, you will have an unfertilized ovary that will not yield any seeds.
From Randy Kerr:
“Most begonias bloom in winter, rhizomatous types. Some in summer. Tuberous, I am finding in fall. All these refer to the length of illumination, not actual seasons. So moving between these shorter and longer days, can serve to trigger blooms. I use short days in summer because if AirConditioning costs, and run lights mostly at night, in evening. The lights put out heat to warm the plants in winter, and having the off during summer days makes cooling cooking easier.”
To add onto this, this year I have purposefully cycled my begonias and have seen more flowers than any past years combined. The lessened daylight hours have been accompanied by temperature drops into the 60’s at night. A few weeks after the shortened photoperiod and cooler temperatures, many of the more difficult Bornean species responded by quickly forming inflorescences. It drops down to about 65F at night and remains at 70-75F during the day. This is compared to nighttime temps of about 70F at night in the summer, and 75-80F in the daytime (ideally closer to 75F). I have not known about the photoperiod to induce flowering for long enough to try it out for a full cycle.
Male and Female Flowers
In begonias the flowers are rarely scented.There are always separate male and female flowers, and when a plant blooms, usually there are both male and female flowers present. This is the norm for flowering plants, with 80% possessing male and female flowers on the same plant. This is also referred to as hermaphroditism.
Most begonias are self-fertile, meaning that you can have one plant providing both the male and female flowers to create viable seed. In other groups of plants, like kiwis, you need separate male and female plants if you want to get fruit. The exception to this is begonias from the (African) Begonia section Loasibegonia and in section Scutobegonia.
”Self-pollination of plants in the greenhouse at the Department of Plant Taxonomy, Wageningen, usually does not lead to the production of mature fruits and viable seeds. The young fruits drop early. I therefore suppose that a self-incompatibility system is present in the majority of the species. Species with poor seed set after self-pollination are: B. dewildei, B. laeunosa, B. mierosperma, B. prismatocarpa, B. quadrialata, B. seutifolia, B. letouzeyi and B. vanker ekhovenii. On the other hand, the result of selfing of a few other species proved to be somewhat more successful. These are: B. elypeifolia, B.ferramiea and B. staudtii.” Refuge Begonias, page 79
So, begonias are easy in this way. You might hear ‘crossed with self, backcrossing, or selfing’ which all mean the pollen and the ovary came from the same individual plant. This method of reproduction and the plants it yields differ from clones, which are produced through vegetative means (leaf, rhizome, or other tissue). In creating seed you are allowing the parent genome to rearrange itself, whereas when you are propagating vegetatively you are not allowing for meiosis. You will, of course, get more genetic diversity if you use separate stock for the male and female plants.
Even though most begonias are self-fertile, they require a mechanical means of pollination such as insects or wind. This is to be distinguished from plants that are self-pollinating, which means that they are capable of both selfing and creating seed without an external pollinator. 10-15% of Angiosperms are self-pollinating.
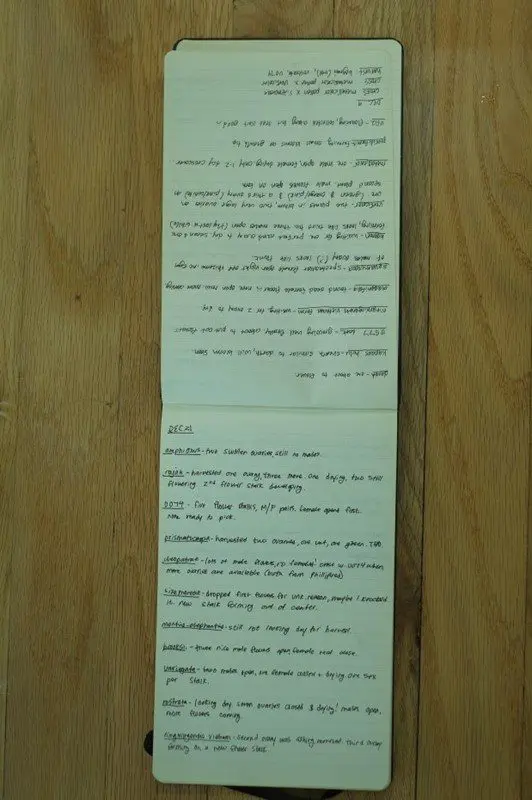
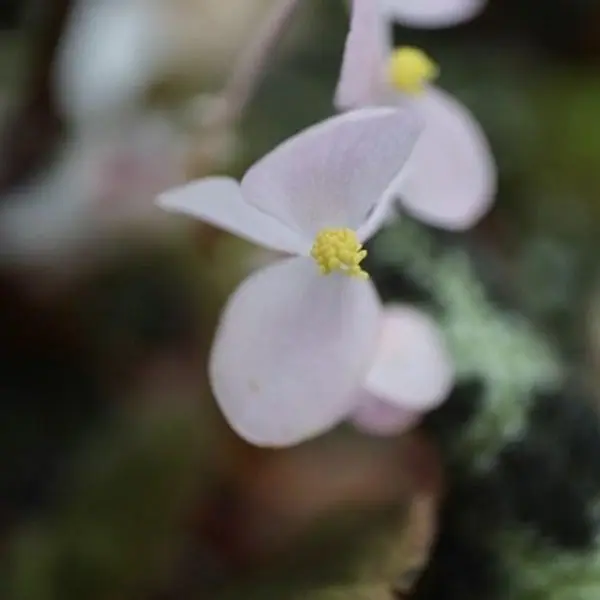
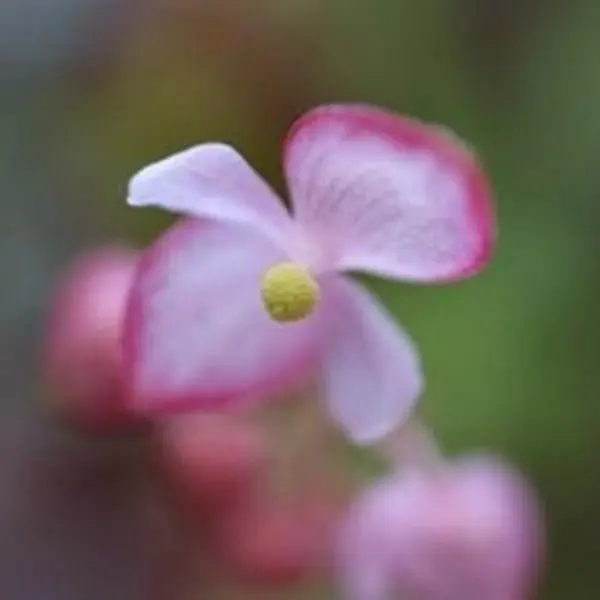
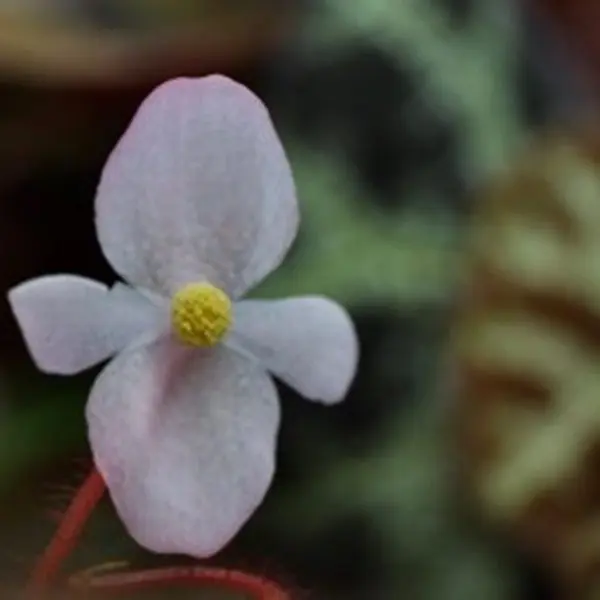
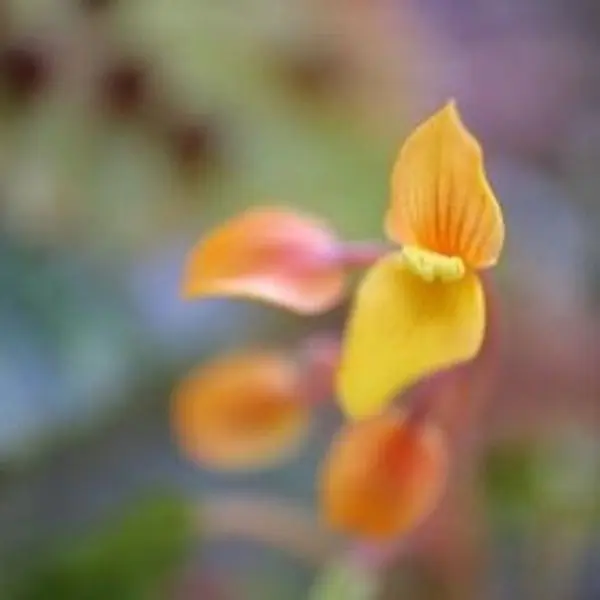
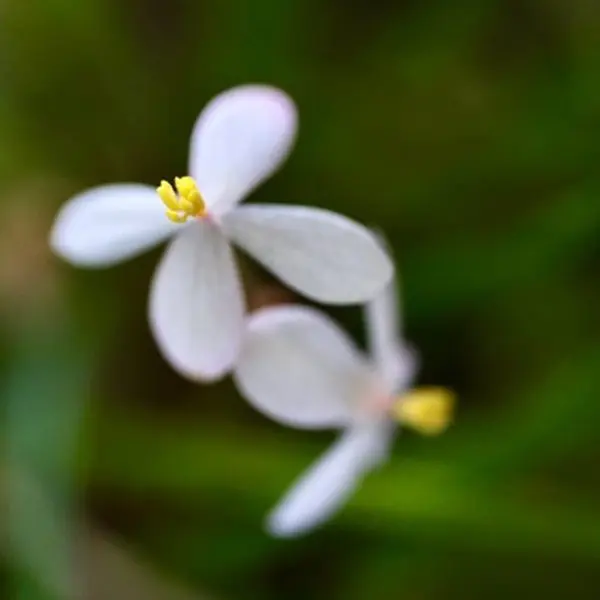
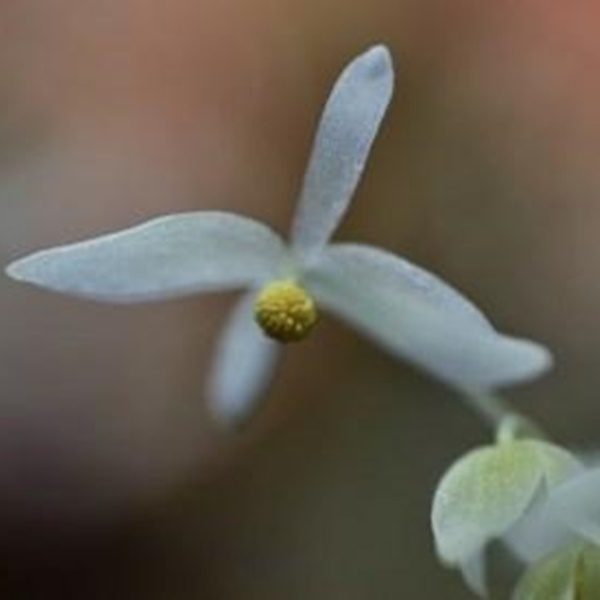
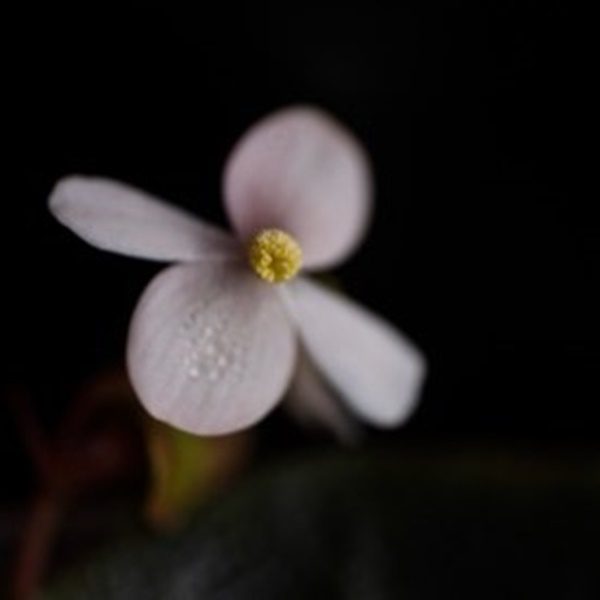
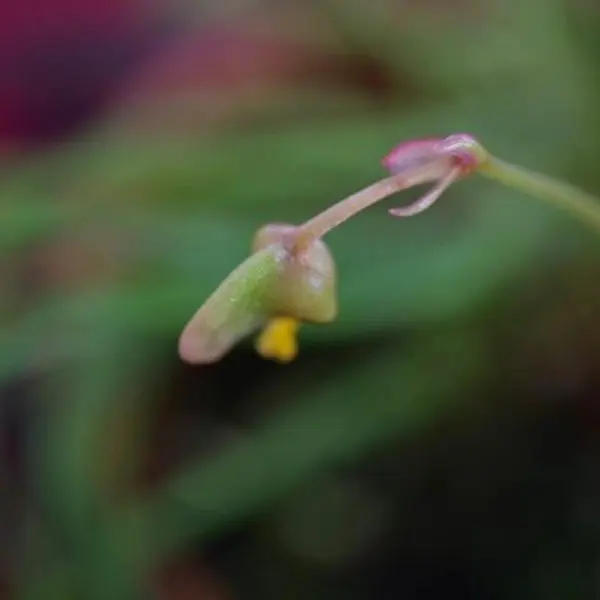
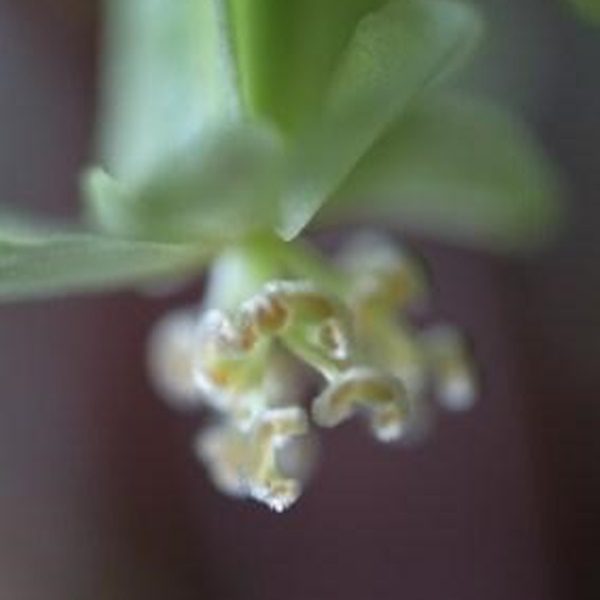
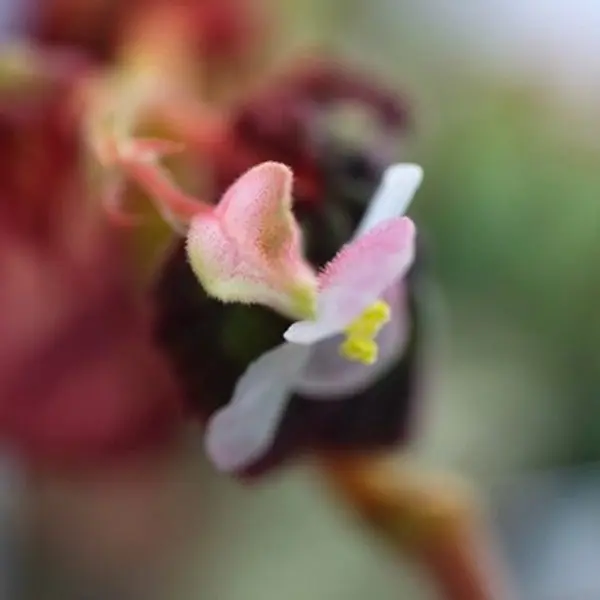
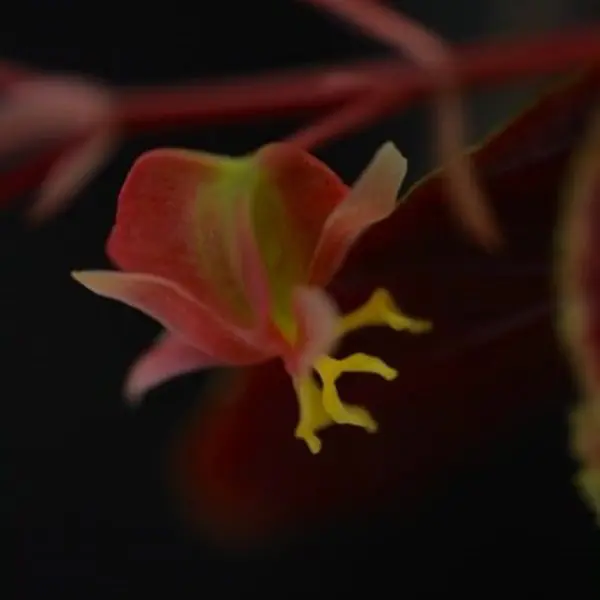
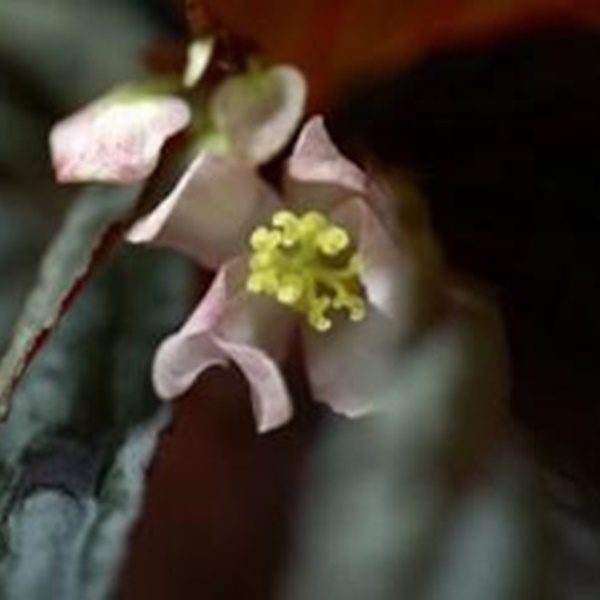
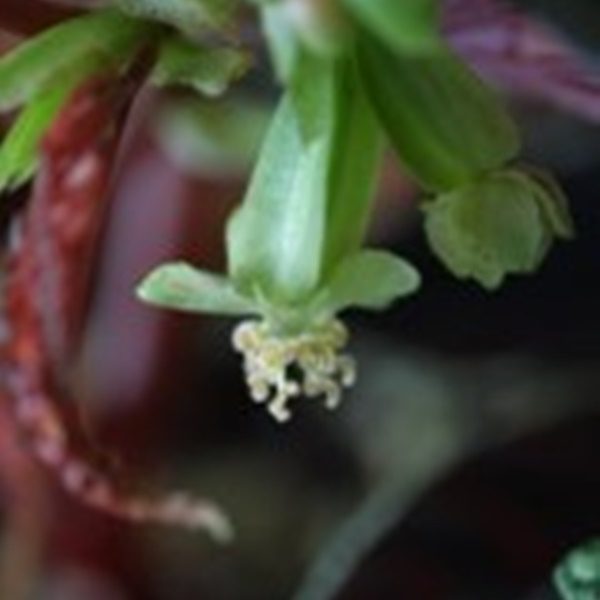
Male Begonia flowers possess 2 or 4 tepals in opposite pairs. If inner tepals are present they are much narrower than the outer two. Anthers are yellow with two anther sacks. They are generally smaller than the female flowers and often occur in multiples on a single inflorescence. Interestingly, with only a few exceptions, African begonias have yellow flowers. The images below are all male flowers:
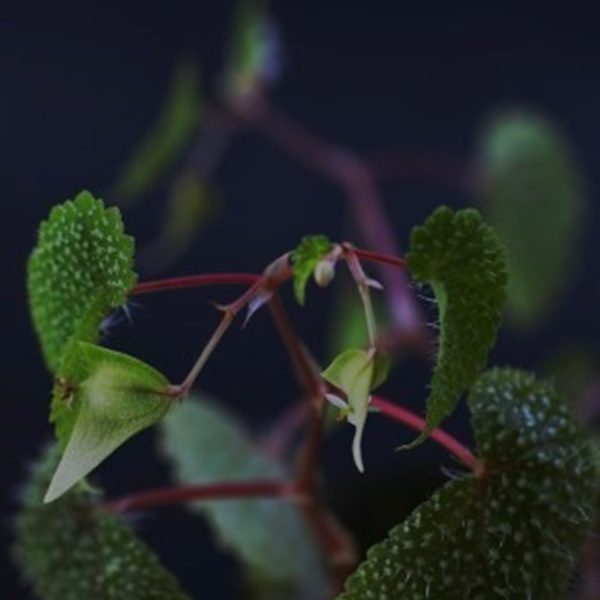
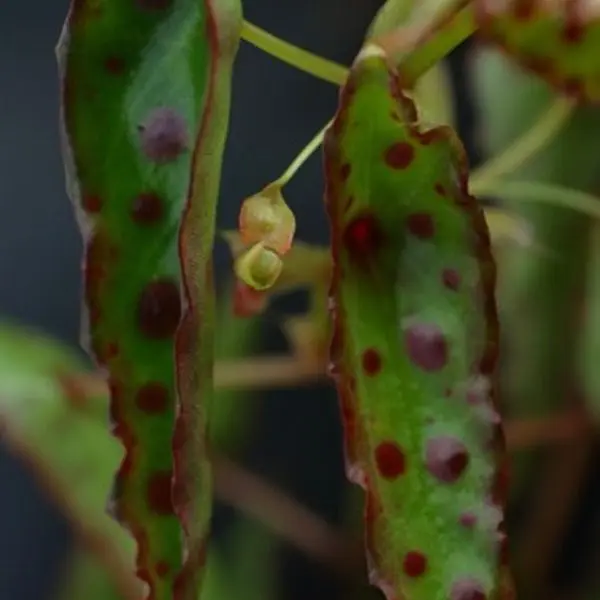
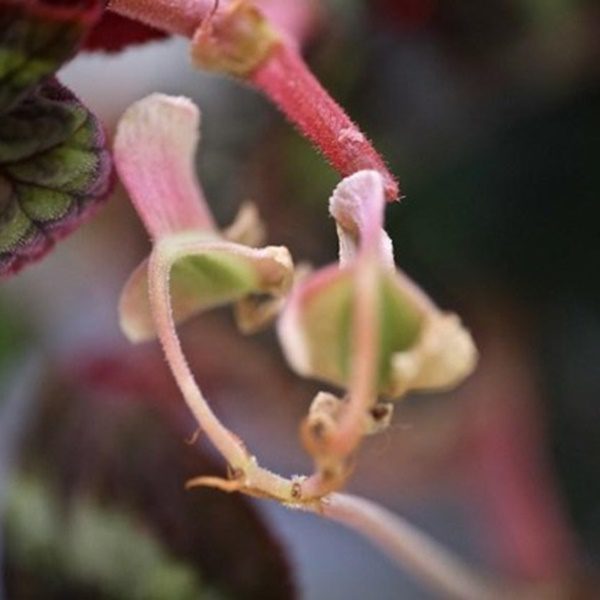
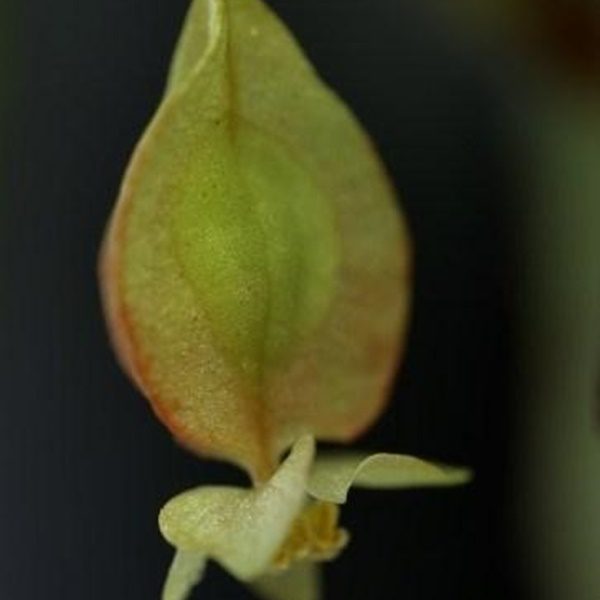
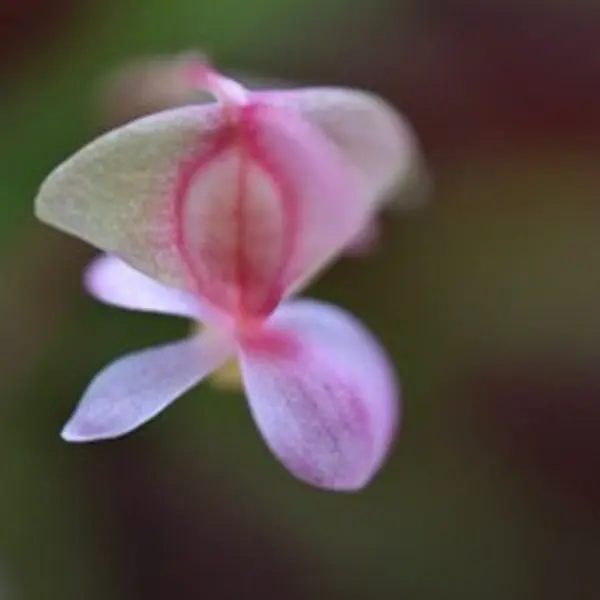
Female flowers tend to be larger and have more complicated anatomy. The most noticeable difference is a swollen angular ovary behind the stigma. It connects the flower stem to the rest of the flower and can vary in size. They have three wings or no wings, and two to three locules. Each locule has one or two placentas. The stigma sometimes looks velvety when it is receptive. Care should be taken not to move the flowering plant excessively as the ovary on some species can fall off very easily. My most recent experience with dropping ovaries is B. darthvaderiana, sadly. Sometimes even the slightest movement can cause them to drop, and other times the ovaries are very securely fixed, as in B. versicolor. After the female flower has successfully been pollinated, the flower tepals will drop and the ovary will swell. The images below are all female flowers/pods (flower after the tepals have dropped).
Pollinating
Begonias nearly always produce male and female flowers at roughly the same time, making pollination easier. There are very rare instances where the period of time between a Begonia producing male and female flowers is so long that there is no overlap. Amphioxus, for example, seems prone to producing either male or female flowers and then producing the second sex months after there is an opportunity for self-pollination.
Pollen
There are many methods of pollinating, below are some observations and insight from Randy Kerr, long time Begonia keeper and expert pollinator,
“…I believe that lack of pollen release is the #1 cause of failure in hand pollination. Any Begonia flower examined at modest magnification will show the same white or light-colored regions on the anthers, the teardrop-shaped pollen making and storage organs, when the anthers have dehisced (unzipped) to release pollen…. you can often verify pollen release by the simple means of thumping or flicking the male flower with a finger to see a cloud of pollen. I do this myself, often over a very smooth, dark, surface, which makes released pollen easier to see. And if pollen is visible, it’s all good.
But if one does not see pollen, then a visual inspection can be helpful. Terrarium grown species are seldom generous in pollen release. Tropical growers may also encounter this issue. High humidity decreases pollen availability. I suspect this is because water can easily “drown” pollen, rendering it nonviable. In the humid tropics, according to published research, the morning is generally the optimal time to engage in hand pollination when working outdoors.
As an aside, pollen should not be stored at very low humidity as this will also render the pollen nonviable. Normal household humidity is fine.
If a visual inspection shows that the anthers are not yet open, there is typically no cause for concern, though a brief wait is probably necessary. Allowing a plucked flower to rest in a non-humid area (such on top of a terrarium) or indoors on a piece of paper with a label to avoid confusion, for a day or, rarely, two, will trigger pollen reason is the great majority of cases.
I should emphasize that the above described practices and methods are not useful only for terrariums growers. I have also found it helpful when pollinating garden grown species. Some garden species flower abundantly. I can shake a B. Reniformis inflorescence and watch the released cloud of pollen slowly drift. Begonia strigillosa, like many others, will often benefit from drying out after being plucked. Begonia polygonoides, and numerous other species, likely only release pollen after a flower has ‘died’ and the anthers have begun to desiccate.
When I first examined this flower under a Jeweler’s Loupe only the topmost anthers had dehisced. During the five or ten minutes that it took me to set up the flower for a photo, the remaining anthers also opened to release pollen.
I also use the finger flick method, using my middle finger to thump the pollen head as though I am checking a melon for ripeness. And this may be enough to open up the anthers. Otherwise, after allowing the plucked male flower to dry for a day, I give another thump and recheck the anthers for pollen release.
When choosing a male flower for hand pollination, the best results will be achieved with the oldest, most mature flower. I look for the most fluffy, most open, male flower. The male flower at the apex of the oldest inflorescence is generally the best choice.
I confess that in the hard cases, I have used just dropped male flowers (in a terrarium). This is a dangerous practice however because these dropped flowers will quickly attract fungal growth. So, there is a risk of infecting the female flower, or even the entire plant with a fatal S.T.D. (sexually transmitted disease). I use one of my mini microscopes to look for fungal growth to reduce, but not eliminate, the risk.
I apply pollen with various tools. These days I mostly use micro applicators, which are apparently intended for eyelash extensions. I pay $8 or $9 for 500. I have also used Q-Tips, and artist type paintbrushes made from camel hair. Sterilizing the paintbrush with a dip in alcohol will kill pollen to prevent accidental hybridization, and avoid transmission of any pathogen, during subsequent use. One can also use a fingertip, though I prefer something I know is basically sterile.”
The Tuning Fork Method
Text provided by Randy Kerr,
“I continue to find “the tuning fork method”, suggested to me by a gifted friend, very useful for pollen extraction. My preferred work surface is this black lid for a brand of yogurt because, on that surface, pollen is easy to see, and readily collected for use. Most of the pollen released remains near the pollen head/anthers. Additional pollen is visible as a more widely dispersed “pollen fall”. I now store the lids in sealed plastic bags, once the yogurt container has been opened, to maintain their pristine state for later use.
Best results come from the fluffiest pollen heads. But, so far, all male flowers have yielded pollen. I often remove the tepals (flower petals) before using the tuning fork. I simply strike the tuning fork against my knee, and touch the tip of the tuning fork to the pollen head (anthers), applying very gentle pressure. Sometimes, three or four applications are needed for optimal results. This method emulates the vibrations of buzzing bees which are also known to trigger pollen release.
Depending on the number of flowers I wish to pollinate, I may use my finger (to pollinate just one or two females. For more flowers, I may use a camel hair paintbrush, or a disposable micro applicator (resembles a mini Q-Tip). I like the micro applicators because they are easy to use, and cheap. One can purchase 500 of them for under $7 on Amazon.”
Waiting for the Pod to Dry on the Plant
Once your female flower has dropped its tepals and is swollen with developing seed, it needs to dry on the plant for a while. The period of time it needs to dry will depend on the species, and even on the individual plant to some extent. Begonia rostrata for example only takes about a week after the tepals have dropped to dry completely, and will drop if not harvested promptly. Other species, like Begonia versicolor, take months. One potential challenge for species with longer drying periods, especially in high humidity, is that the flower can succumb to rot or ‘ashing.’ Care should be taken to position the flower away from damp surfaces such as condensating terrarium walls. The flower should not be touching anything, including other leaves.
When the ovary is ready it is golden brown and completely dry. You should be able to give it the slightest pull to remove it.
Waiting for the Pod to Dry off the Plant
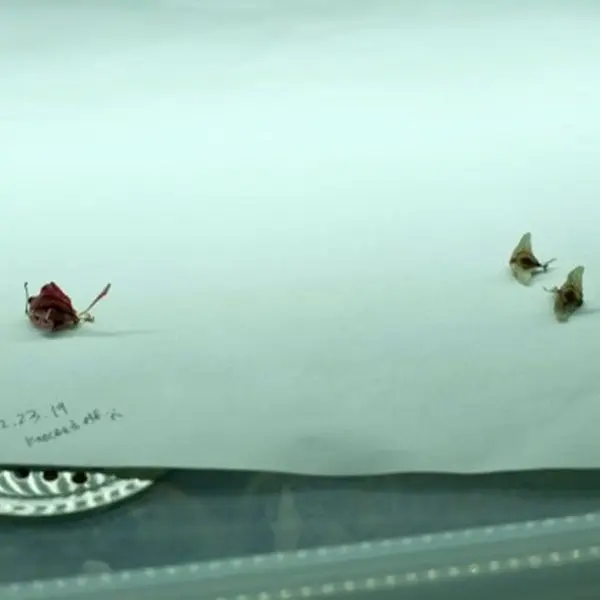
After you have harvested the seed pod, let it dry on a dry piece of paper for 3-10 days. The ideal time to open the ovary/collect seed depends on the species, but when the pod is ready, if you backlight it, you should be able to see the seeds (dark) through the outer ovary wall. In some species that produce seed readily, the seeds will fall from the locule and you will be able to see them rattling around through the ovary wall. Most of the time though, the seeds will remain fixed to the locule. When a pod is ready, sometimes the tissue between wings will shrink and detach, giving you a view into the ovary itself. At this time, it’s best to harvest seed promptly.
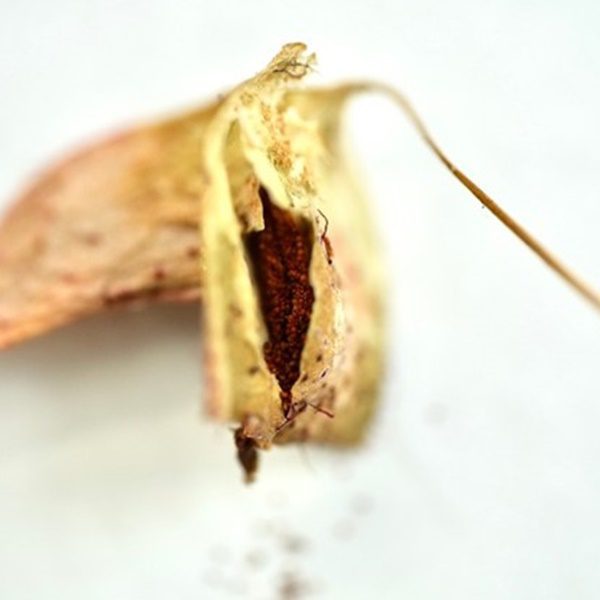
What happens when you open an ovary prematurely?
The pod above is one of B. U512. This species is very vigorous and propagates from leaves readily, so I harvested this pod on time, but purposely opened it before it had the opportunity to fully dry (after one day, instead of 7 or 8). As you can see, the seeds are not golden brown, but mostly cream-colored. If you open up a seed pod and see this, you have a fertile pod but opened it too soon. Once the ovary has been opened up the seed cannot mature to be viable.
Below, various seed pods drying. It helps to date the collection so that you have a better idea of when to open it up.
Collecting the Seed
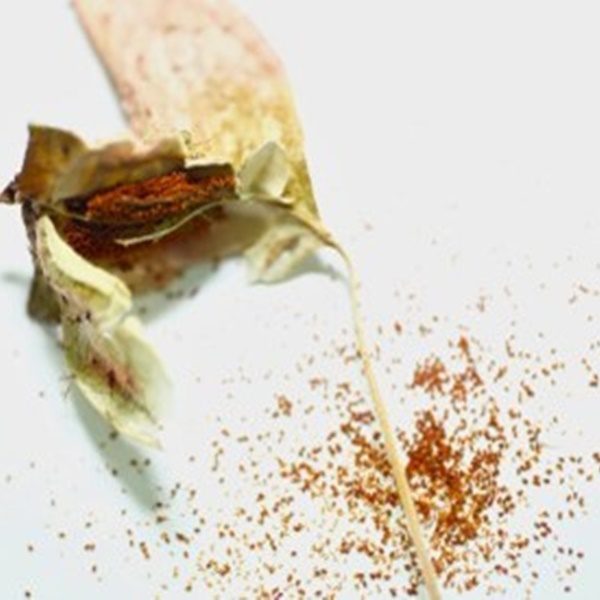
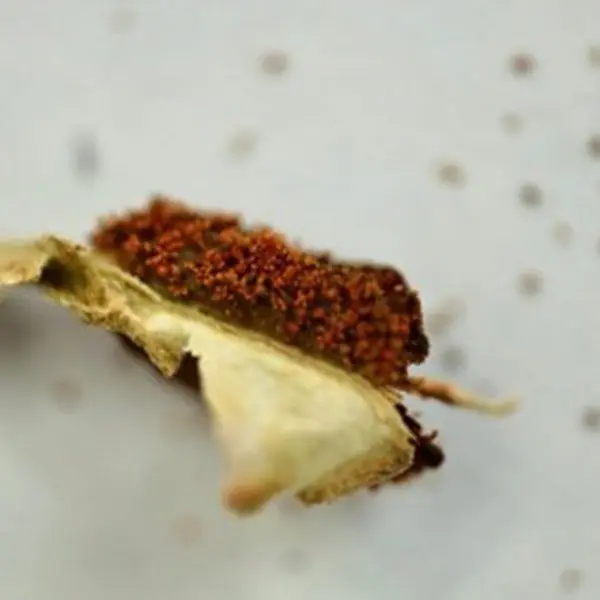
A pair of fine-point tweezers is very helpful for this purpose. After you have determined it is the right time to harvest, you are essentially going to dissect the ovary. I do it over a piece of paper and slowly pick it apart until I get to the locules. Often when you get to the inner structures of the flower seeds will fall off onto the paper.
The seeds should look like golden barrels.
How to Separate the Good and the Bad seed
From Randy Kerr,
“Good seed rolls best. Put one seed of paper, with the seeds, above a second sheet. Slightly tilt the tip sheet so that the best seed will role. Practice a bit. And doing this on a baking sheet can prevent seed loss while you practice. It really helps. And I use the Jeweler’s Loupe to verify I am getting the seeds I want onto the second sheet for storage and leaving most of the chaff behind. I sometimes do the tilt 3 or four times. But often just once.”
Examining the Seed
From Randy Kerr,
“…when it comes time to harvest and store seed, I like to know what I have. Not every seed pod will contain good seed, or only good seed. These days my preferred tool for examining Begonia seeds is a Jeweler’s Loupe providing x40 or x60 magnification and having a built in LED light.
I like my “Loupes” better than my mini microscopes because I can view a larger area, from a slightly greater distance, though I use both. The greater distance is relevant because when I use a mini microscope, held closer to the seeds, static electricity can cause Begonia seeds to rise up and adhere to the mini microscope. Jeweler’s Loupes are available on Amazon and eBay for less than $15. And x60 mini microscopes are available for less than $10.”
”It is not necessary to grow seeds from a pod to verify their viability. (The exception being some African species that are not self fertile) I can tell with a quick and look at seeds, under magnification, and know what percentage are good….The only odd looking seeds in Begoniaceae, that comes to mind is that of B. solananthera, which look a bit like fingernail clippings. As to the rest you will know them by their plumpness, and uniformity or shape.”
Photos below provided by Randy Kerr,
Short Term Seed Storage
About a month ago I posted on the ISO FB page inquiring about seed storing strategies and got the following responses,
Mauro Peixoto from Brazil Plants,
“I make my own envelopes. They are made from what we call in Brazil as “silk paper”. (Jim Roberts already got seeds from me and knows the proper name in English) I usually buy one pack with 100 sheets (50 x 70 cm). It takes some work to make, but is light, porous and minimize the risk of the seeds get mold”
Jim Roberts,
“The paper you use is very similar to the Perm Paper. It is thin enough to see the seeds in the packet if held up to light but strong enough to hold up to several openings and re-folds. Being able to see the seed through the paper is important when dealing with tiny seeds like Gesneriad or Begonia seeds.”
Rick Schoellhorn,
“I tried the glassine envelopes but every manufacturer was different and if they had a seam on the inside, all the seed stuck in the seam. I closed them by folding them in half after closing the flap so the seed was less likely to come out. But still opening and reopening the envelopes eventually began to break them down.
So, then based on Ross Bolwell’s method, I decided to go with the micro centrifuge tubes, 2 ml size and they are still a bit too large, I could def have used 1 ml size. I work in a fairly dry house and keep all my seed in the refrigerator, so so far no mold or problems and each tube gets a bit of dried, rinsed, fine sand, makes it easier to pour and dilutes the number of Begonia seeds I sow each time, which is good.
I no longer use the envelopes at all. Just find a good manufacturer who has a nice tight-fitting lid on their tubes, almost all of them are fine, but I live in fear of ordering sometime and having 1000 tubes that don’t close correctly…chuckle.”
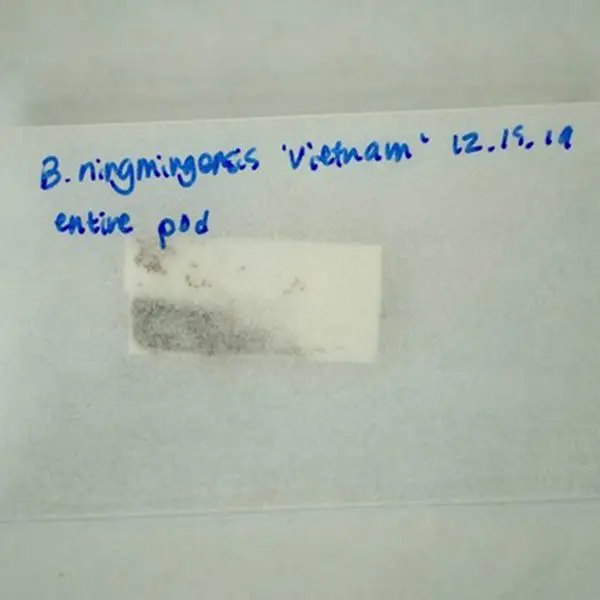
Here are the perm papers and glassine envelopes .
The perm papers can be folded in a variety of ways, and because Begonia seed is so small, usually an entire ovary of seed can fit comfortably in a tightly folded envelope (inside the glassine envelope). Before using the perm papers, I had tried putting the seed directly into the glassine envelopes. For the first few months, it seemed to work but I am now seeing leakage at the bottom of the large paper envelopes I’m using to store the smaller envelopes. If you are into seeds, it helps to be into origami and envelopes too.
Long Term Seed Storage
Some insight from Randy Kerr,
“Dryness is number one, though storing in the refrigerator is also helpful, and really should be done for long term storage. I have been known to store my seed packets in a box into which I place a small desiccant sachet (bag). (I still use, but have long outgrown, that box. But I don’t think others use desiccants. And I have heard several reports of refrigerated seed still being viable after 10-12 years. And I also have seeds stored in one dram (small) glass vials. And there is, after I gave the matter some thought, just no room for desiccants in those vials. I confess I have left some seeds in paper envelopes (so dry, but unrefrigerated), for at least one year, maybe a bit longer. And those seeds germinated just fine. That said, different species have different tolerances. And some store less well than others….I have read, in a report by a non professional, non-academic grower, that rajah seeds are only viable for 30 days after harvest. I cannot forget something like that after reading it. (Which is probably odd). But, I need verification before accepting the statement of being true in all cases. I use small paper envelopes. The paper tends to absorb excess moisture. I used to use glassine envelopes. But kept having seed leaks, no matter which vendor supplied the envelopes, from unsealed seams. I tape the top and bottom of the (small) paper envelopes, to avoid that issue.”
After reading all the comments from long-time seed collectors I have tentatively decided on the following method for long term storage (but have not implemented it yet as our fridge is a little broken and regularly gets below freezing).
2mL open topped glass vials to house the seed, nested in capped 10mL glass vials that have non-indicating desiccant at the bottom to absorb moisture. The vials will be labeled and kept in the fridge, ideally in dark boxes.
The standard for both the Gesneriad Society and the American Begonia Society is to mail seeds in perm paper type folded envelopes, inside glassine envelopes. The glassine envelopes are labeled and taped with a 1/2 inch or less sticker dot to prevent the tiny envelope from falling out.
*This article is a work in progress and I hope to add more as I learn more about this process, and have the chance to test out different methods of pollination and seed storage. *

